Imagine building a house in just 24 hours or producing custom medical devices overnight.

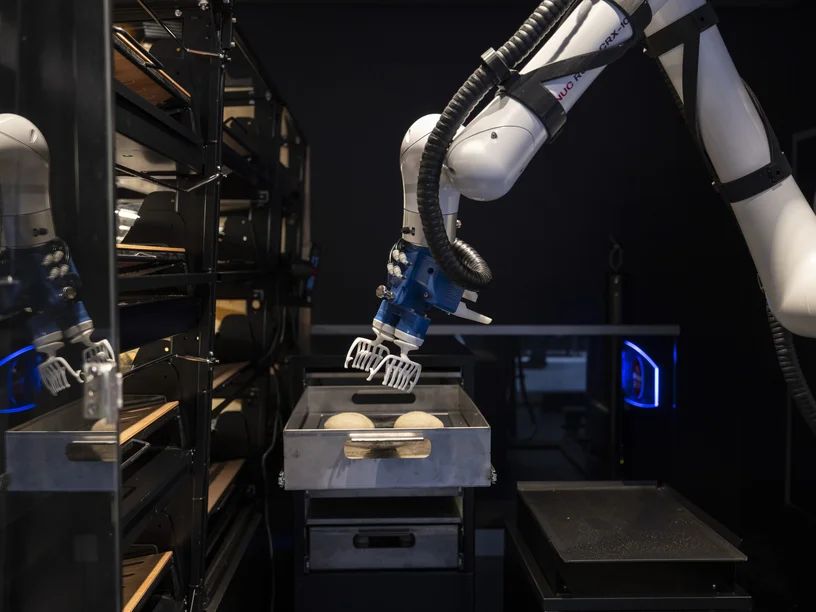
3D printing is no longer a futuristic concept—it’s already revolutionizing industries like manufacturing, construction, healthcare, and even food. In many cases, it’s becoming a more efficient and flexible alternative to traditional methods.
At the heart of turning ideas into physical objects lies 3D modeling. The precision and logic behind your model directly affect the final print quality.
In this post, we’ll cover essential modeling tips for reducing errors and enhancing your 3D print results—whether you’re new to 3D printing or looking to take your work to the next level.

1. Model with Manufacturing and Assembly Tolerances in Mind
Understanding manufacturing and assembly tolerances is crucial for producing high-quality 3D prints.
Tolerance refers to the allowable deviation between the designed and actual printed dimensions. It directly affects how parts fit and function.
When designing assemblies with multiple parts, it's important to avoid overly tight (interference fit) or loose (clearance fit) connections.
Also, tolerance settings should vary depending on the 3D printing method (e.g., FDM, SLA, SLS) and material used, as each has different precision capabilities.

| Process | Manufacturing tolerance |
|---|---|
| 3D printing - SLA | tolerance : ±0.2%, minimum ±0.2mm |
| 3D printing - SLS | tolerance : ±0.3%, minimum ±0.3mm |
| 3D printing - MJF | tolerance : ±0.3%, minimum ±0.3mm |
| 3D printing - SLM | tolerance : ±0.3%, minimum ±0.3mm |
| 3D printing - FDM | tolerance : ±0.5%, minimum ±0.5mm |
By applying the correct tolerances from the design stage—accounting for material shrinkage, printer resolution, and surface finish—you can ensure your parts fit without post-processing.
This leads to better efficiency, product quality, and user satisfaction.
Check our Design Guide for detailed tolerance values by printing method.
2. Set the Right Wall Thickness for Your Printer and Material
While 3D printing excels at complex shapes, thin walls can break or deform easily.
To avoid failed prints, always design with the minimum wall thickness recommended for your printer and material.
| Process | Material | Wall Thickness |
|---|---|---|
| 3D printing - SLA | White Resin | 0.5mm |
| Black/Brown Resin | 0.7mm | |
| Transparent/Translucent Resin | 0.8mm | |
| Rubber-like Resin | 1.5mm | |
| 3D printing - SLS | Nylon | 0.5mm |
| 3D printing - MJF | Nylon | 0.8mm |
| 3D printing - SLM | All Materials | 0.8mm |
| 3D printing - FDM | PLA | 0.8mm |
| PETG | 0.8mm | |
| TPU | 1.5mm |
At Creallo, we provide wall thickness guidelines based on the material and printer used. In structural parts or high-load areas, add ribs (thin, long support features) for reinforcement.
???? For exact numbers, refer to our wall thickness guide.
3. Consider Layer Orientation for Strength and Surface Quality
Since 3D printing builds objects layer by layer, the layer orientation directly affects strength and appearance.
- Strength: If the direction of applied force does not align with the layer orientation, your part may break more easily.
- Surface finish: Layer lines can affect the visual quality, especially in decorative parts.
For instance, horizontal layer orientation tends to be weaker than vertical orientation.
At Creallo, you don’t need to worry—we handle layer orientation for you. Just tell us your priority (e.g., strength or appearance), and our engineers will set the best orientation accordingly.
Even without specific requests, we apply an optimized balance of strength and aesthetics to every print.

Final Thoughts: Accurate Modeling Leads to Better Prints
The possibilities of 3D printing are endless—but everything starts with accurate and thoughtful modeling.
The tips we’ve shared will help you avoid print issues and achieve more polished, functional results.
Focus on exact dimensions, smart design, and function-oriented modeling that matches the material and printer settings.
Creallo offers detailed design guidelines and mechanical property charts by material to help you optimize print quality.
Start your custom manufacturing journey today.